We have an en suite attached to our downstairs master bedroom and it needed some love. Some love and maybe some degreaser. Or, an exorcism. We used this bedroom and bathroom our first few months in the house, but since little baby Mac entered our lives, we’ve been in an upstairs bedroom that is steps away from his nursery. Honestly, such a good move. Trudging up and down the stairs in the darkness of the night to a crying baby (or now as a crying toddler) gives me hives.
The bathroom was totally “on brand” with the rest of the house: a 1980’s-era motif, rusty metal (but not on purpose), a hole in the ceiling that was larger than the light/fan fixture, and a smell that seemed to follow you around like the staring eyes of a portrait on the wall of an old home.

It screams potential, right? Or maybe it’s actually screaming “run”? Whatever the case, this family doesn’t back down from a challenge.
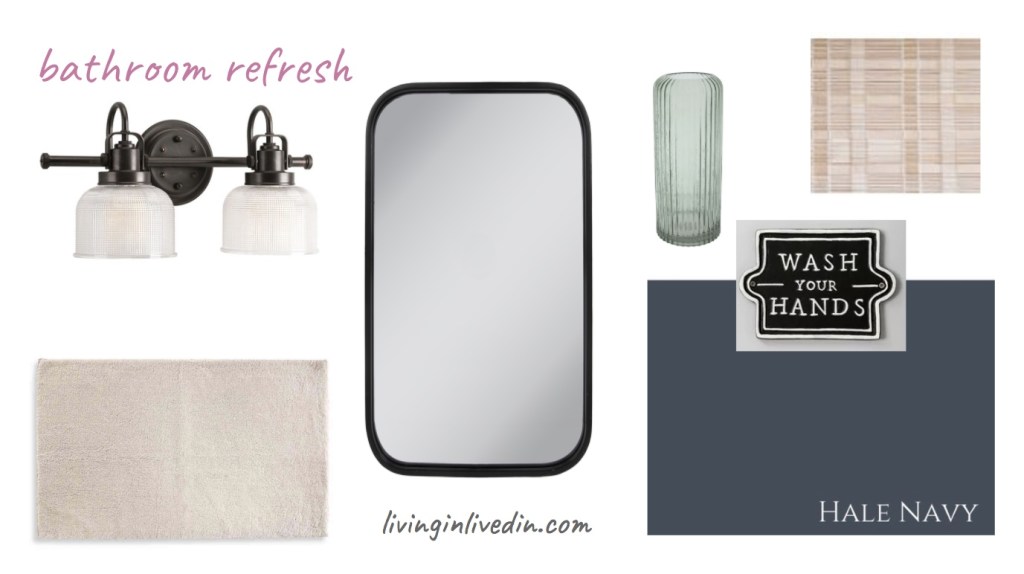
Here’s the design board I started with.
The completed refresh here!
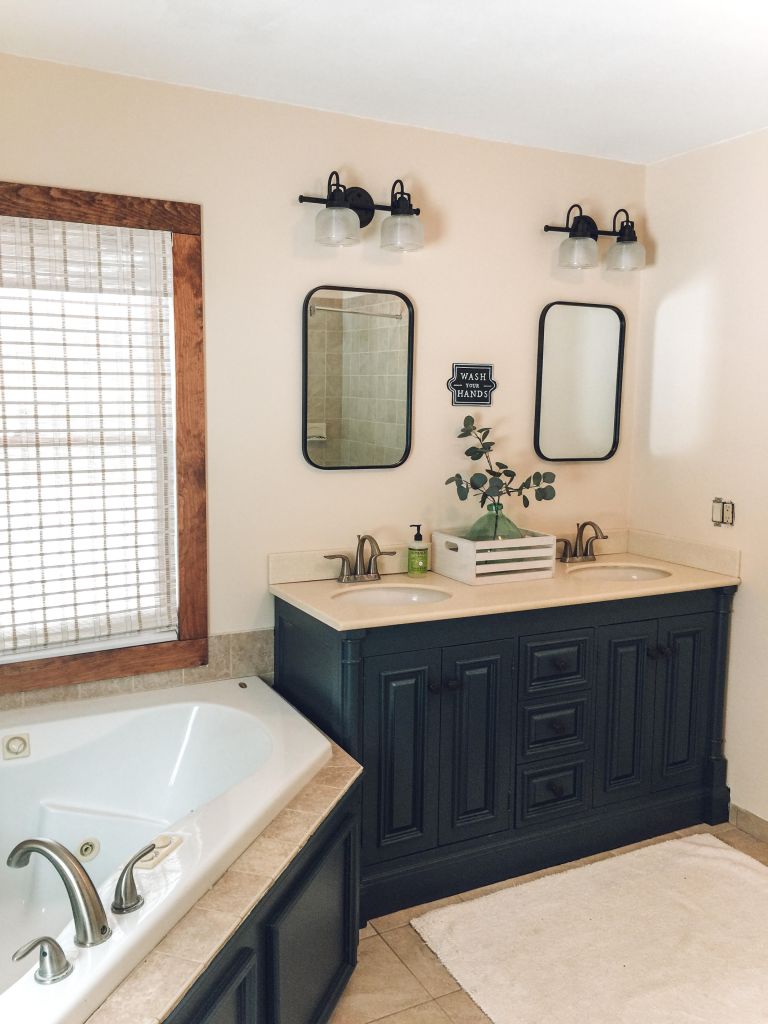
I love how the Benjamin Moore Hale Navy looks on the vanity. It’s kind of moody, but the wall color, counters, and shade still make the space bright. I initially wanted gold accents, but the vanity lights in gold were double the price, and therefore double what I didn’t want to spend. When I update a space, there’s a lot of additional thought dedicated to creating a look with pennies versus dollars. I wish I could put a post-it-note on each item to explain how I saved money. That’s the real challenge in designing a space!
Paint – Benjamin Moore Advance Interior Satin in Hale Navy (yes it’s pricey, but you will get so much use out of a gallon, and the quality is unmatched on cabinetry and furniture).
Mirrors (34.99 each) – 50% off at Hobby Lobby – I could’ve gone larger, but then I would have paid more, so.
Vanity lights (79.98 each) – Lowe’s – settled with the black
White bamboo shade ($50) – Love, love, love these shades… bonus they are reasonably priced.
Wall signs – Target for the win
Tips for painting a vanity with BM Advance paint:
1) Wash with TSP. My LEAST favorite part, but according to my husband who is much more patient and logical, a crucial first step.
2) Use a good primer. We use STIX interior/exterior urethane acrylic also made by BM. So, this will help bond the paint to the piece of furniture. Make sure you use this sparingly, just a light coat. Be neat with your brush strokes. I think you have to wait like 24 hours for this to dry.
3) Finally, paint with the Advance paint… use thin layers with smooth strokes. This is where my short attention span usually comes in to play, but trust me. A few coats of this paint will make your furniture look amazing and is especially durable.
Not paid for this, I wish I was!
